If you know anything about fashion, you know that boho jewelry has been trending since the early 2000s.
But with such a popular trend, it can be difficult to be unique. That’s why you should learn to make your own macramé earrings!
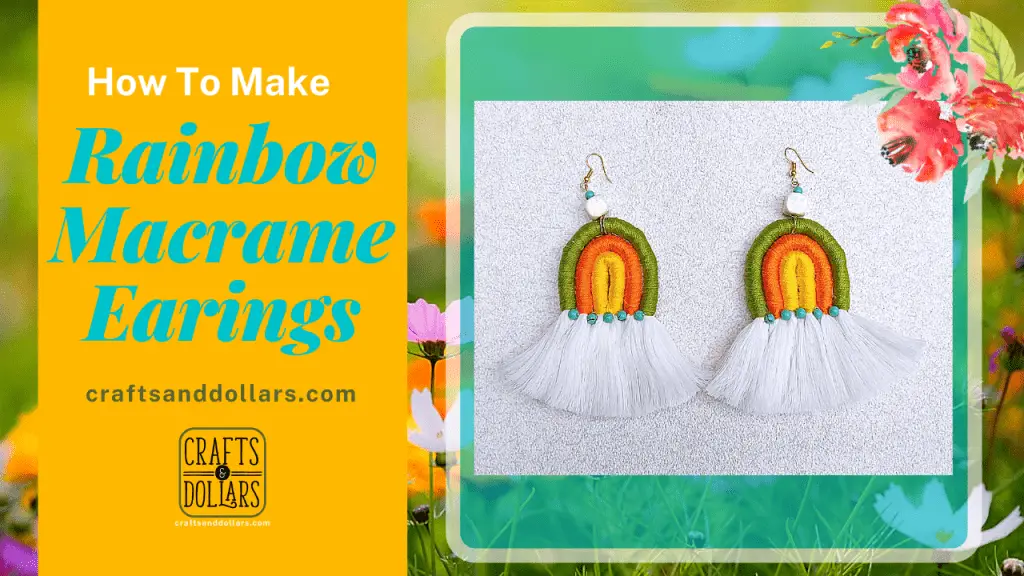
By following this tutorial, you’ll learn how to make your own pair of chic and boho rainbow macramé earrings. You’ll also be able to use these skills to come up with your own unique creations!
So without any further ado, let’s get crafting!
Macramé Earring Materials
What Thread Material Should You Use For Macramé Earrings?
When it comes to making macramé earrings, there are a wide variety of materials to choose from. You can use any material that’s readily available, such as nylon, satin, silk, cotton twisted ropes, rayon, hemp, and even leather.
Different materials will obviously give you different looks. If you use something natural like cotton, you’ll achieve that boho-chic look that everyone is after, but it will be more fragile. That’s why you’ll see people using synthetic materials because they are very resistant and durable. They may not give you the exact look that you want, but they will last longer.
Some materials are easier to work with than others, but it all depends on what you are comfortable using. If you have just started out macramé, use a single-stranded cotton cord that is of high quality. They are really easy to use for any fringing or knotting techniques and are also gentle on your fingers. Don’t spend too much time trying to figure out what works best for you if you are a beginner. The more time you’ll put in, the better result you’ll get.
After choosing your thread material, here is what you’ll need to make these beautiful rainbow DIY macramé earrings.
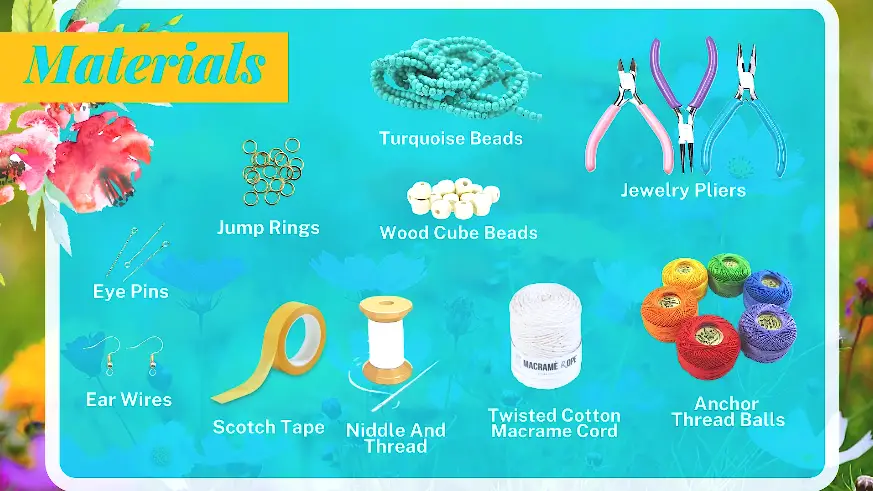
Full macramé earrings material list:
- Ear Wires
- Eye Pins
- Jump rings
- Jewelry Pliers
- Scotch Tape
- Thread
- Needle
- Anchor Thread Balls
- Twisted Cotton Macrame Cord
- Turquoise Beads
- Wooden Cube Beads
- Comb
- UHU Glue
- Pen and Paper
Step by Step Instruction for Making Macramé Earrings
Step 1 – Rough Sketch
Make sure all your materials are laid out in front of you to make this process easier.
Start by making a rough sketch of the earring; this will make the crafting process much easier.
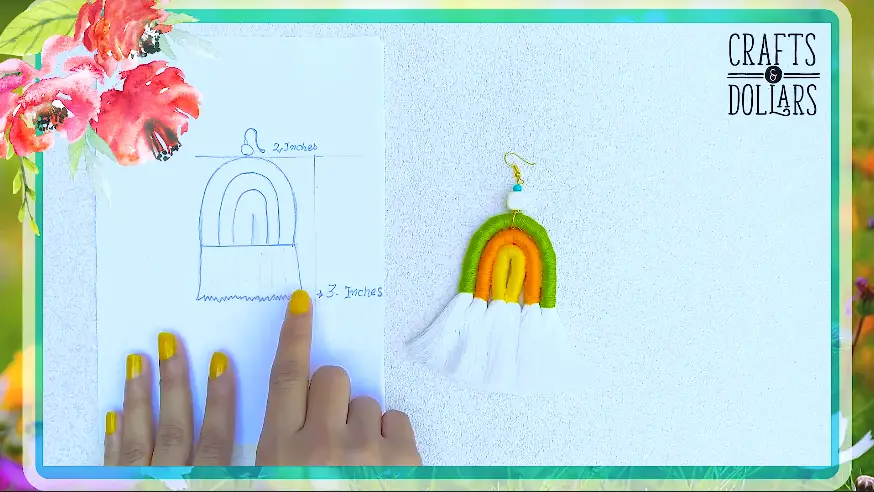
The earrings consist of three bands of macramé cord that end up creating an earring 2 inches wide and 3 inches long (see 1:05). Make sure the sketch is as accurate as possible.
Step 2 – Cutting the Thread
Using the rough sketch, cut up three pieces of macramé cords, following the size of the drawing.

Each cord will go on top of the other cord. Cut accordingly, forming a small rainbow. This is where the sketch will come in handy. The large cord should be roughly 7 inches, the small and the medium cord should be roughly 6 inches. This may vary depending on your sketch.
Use the scotch tape and tape the ends of the macramé cord. They will make up the frayed ends later on.
Step 3 – Wrapping the Cord with Thread
Grab a normal anchor thread of any color, we used yellow, orange, and green threads, but you can use any combination. You can even use the same color for all the cords if you’d like.
Start wrapping the thread on the small macramé cord that is not covered up by the scotch tape (see 2:25).
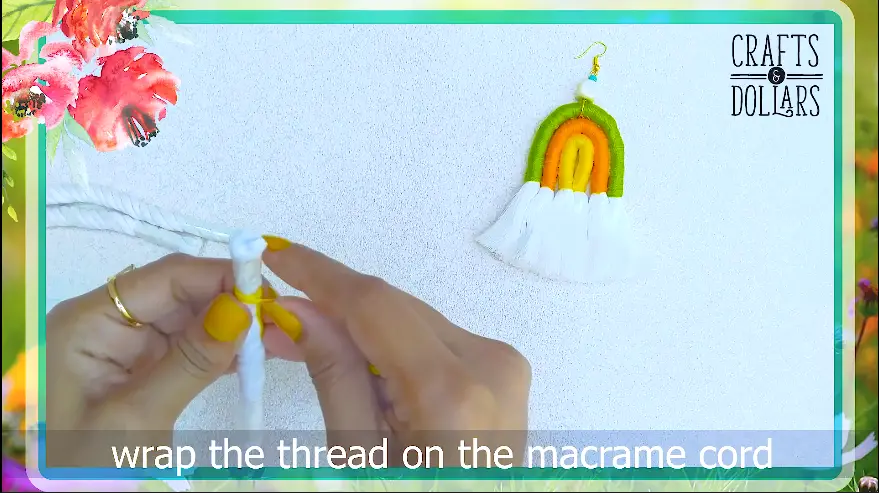
Make sure that everything is tight and compact to avoid any loose threads in the end. Take one of the threads, lay it flat on the cord, and wrap the rest of the thread around it. This way, it won’t unravel later on.
Use UHU glue to stick the center of the cord to make a closed U (see 2:54).
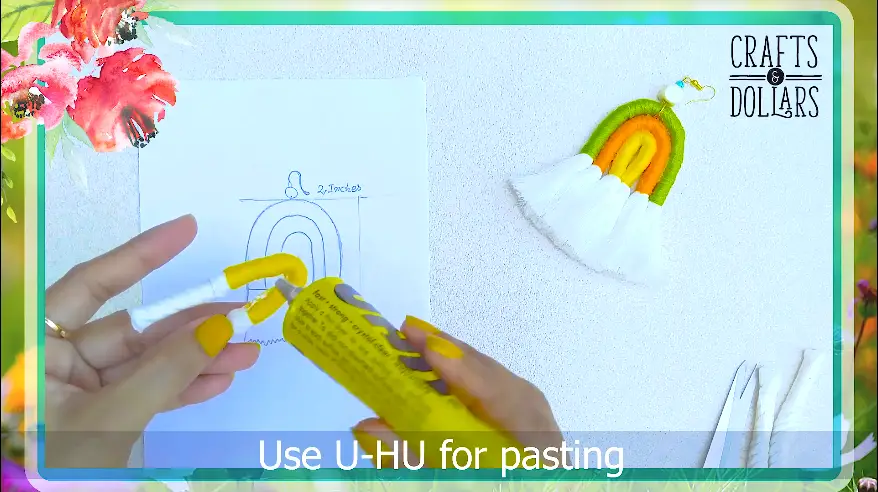
Repeat the same process with the medium macramé cord, tape its ends and wrap the part that’s not taped with anchor thread. Again, you can use any color you want. When done with the wrapping, take the UHU glue and stick the medium macramé cord on top of the small macramé cord (see 3:19).
Ensure everything is secured and move onto the large macramé cord. Follow the same steps of taping and wrapping it and then stick it on top of the medium and small macramé cord (see 3:44).
Step 4 – Fraying the ends
Now that you are done pasting all the cords together, remove the scotch tape from all the ends.
Start opening the twists of the thread and brush them out with a comb to achieve the look that we want.
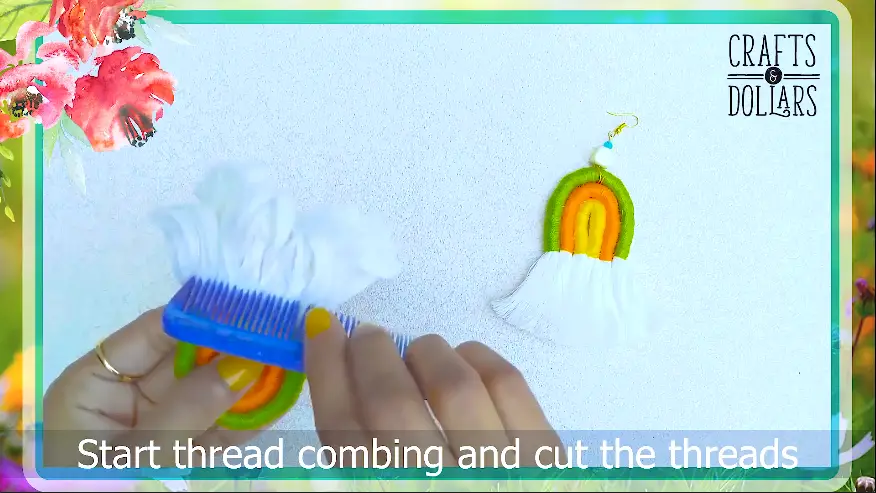
Trim the edges of the thread to get a neat look, and you are done with your beautiful rainbow macramé cords.
The hardest part is done, so give yourself a pat on the back!
Step 5 – Assembling the Earrings
Take a breather and admire your art. You did great!
Now take a jump ring and insert it on the very top of the rainbow macrame cords (4:07).
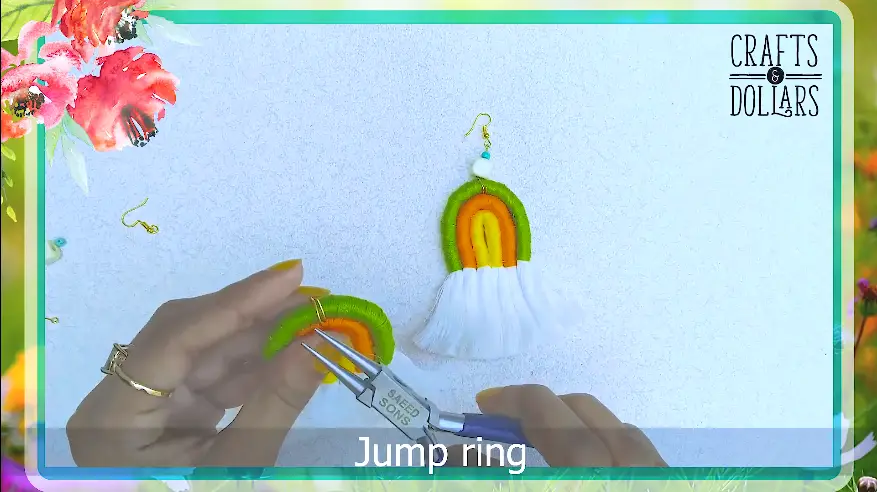
Use jewelry pliers to close the jump ring snug around the top cord.
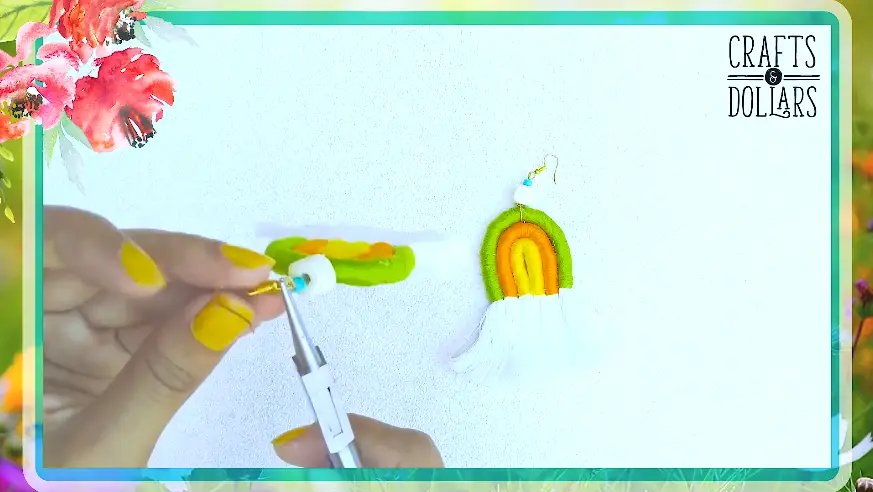
Then, take an eye pin, open its loop at one end, and attach it to the jump ring using the jewelry pliers (4:10).

The following part is optional, but you can take beads and add them to the eye pin to spruce up the earrings.
I chose a wooden cube bead and a turquoise bead to go on top of that, but you can choose whatever feels right. When done adding the beads, use the jewelry pliers to close the eye pin’s open-end by forming a loop (4:29).
Take the ear wire and insert it through the eye pin’s loop with the help of the pliers (4:36).
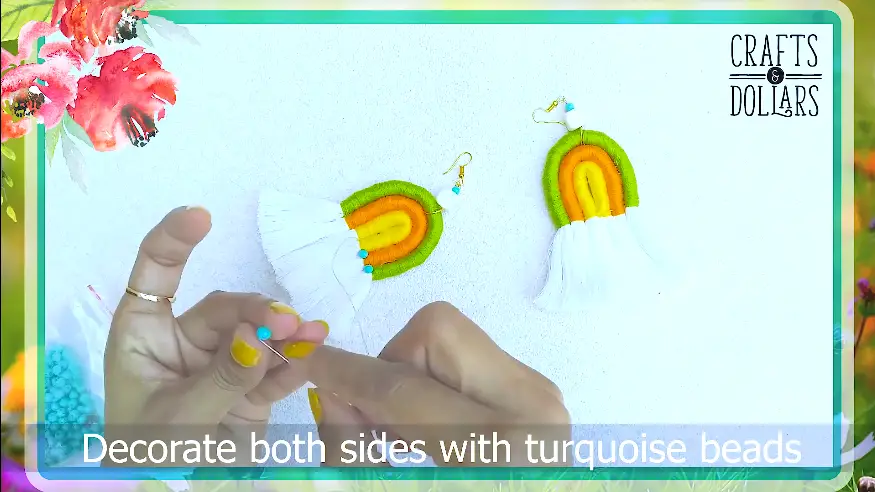
You can either stop here or, to make it fancier, use a needle and thread to add some turquoise beads right on top of the frayed ends.
Starting from one end, insert the needle and thread through space where two cords are pasted, add the bead through the needle before passing it through completely and just repeat the process (4:58)
And voila! You have your beautiful beaded macrame earrings right in front of you. SEE, I told you it would be easy.
Now you can pair these quirky earrings with any outfit and look fabulous. Wear it with a dress or a cozy cardigan, or start your own business; the sky’s the limit. So have fun and enjoy!
What does macramé mean?
Let’s understand what macramé is. It is a form of textile production that involves different knotting techniques rather than knitting or weaving. You can make anything ranging from jewelry, clothes, purses, and even plant hangers. Once you get the technique right, you can create whatever you want.
There are three basic macramé knots that everyone should know if they want to get into the art. They are the Cow Hitch, the Square Knot, and the Wrap Knot. It’s advised to master these basic knots before moving onto more advanced knots. It’s really easy to get lost in the sea of Lark’s Head Knots, the Long Barrel Knots, or the Connecting Knots
Leave a Reply