You might not know what a macramé is or how to describe it, but I’m sure you do know what it looks like.
But if you don’t – it’s a beautiful way to make knots that can be used to make things like home decor or jewelry!
At first glance, it might seem impossible to do on your own because of how complex it looks, but it’s actually quite the opposite. You can make it easily at home. Trust me when I say this: everyone can make their own macramé accessories.
Today, I will teach you how to make a boho and chic macramé necklace just by following a few simple steps.
And I can guarantee that in no time, you’ll be hooked to the art itself. And then who knows, if you put in enough time, you’ll be able to open your own macramé accessories store (Always dream big!).
Let’s get started!
Watch the full video tutorial below, or follow the step-by-step instructions in the rest of this post.
Choosing Your Materials
Different people prefer to use different materials to make their macramé necklace. This will depend on your personal preference and the type of project you’re working on.
For some, hemp thread is the right choice. It’s not very soft and is a bit more difficult to work with, but it is strong and eco-friendly.
Another popular choice is yarn because it looks and feels better than hemp thread. You’ll also have a wide variety of options for color and thickness. However, yarn is delicate and difficult to make knots with.
The most common material that people use is cotton twine. It’s especially great to make small braids and other intricate designs, just like the one we’ll show you in this DIY macramé necklace tutorial.

Full macramé necklace materials list:
- Green anchor thread
- Clear fishing wire
- Eye Pins
- Flat headpins
- Ear Wires
- Jump Rings
- Jewelry making tool/Jewelry pliers
- Gold leaf charm
- White glass pearl beads
- Gold flat oval beads
- Gold long metal beads
- Teardrop green glass beads
- Comb
- Scissors
Step by Step Instruction For making a Macramé Necklace
1. Cutting the Threads
Before we begin, make sure you have all your supplies in front of you.
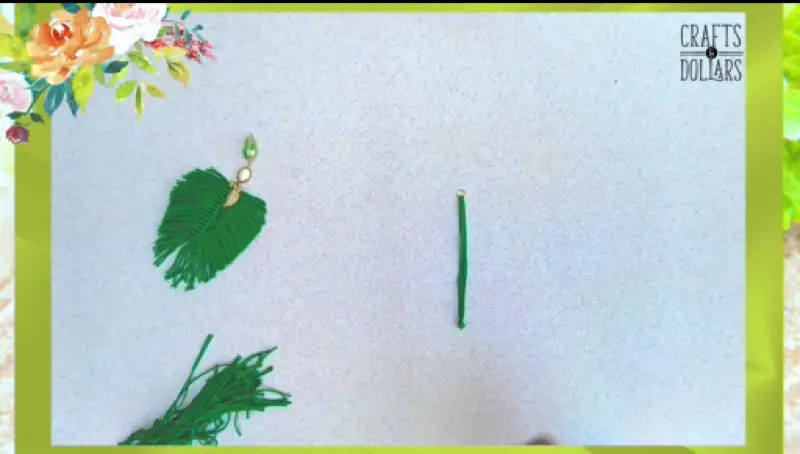
Start by taking the green anchor thread and cut it into several four-inch pieces (see 0:53).
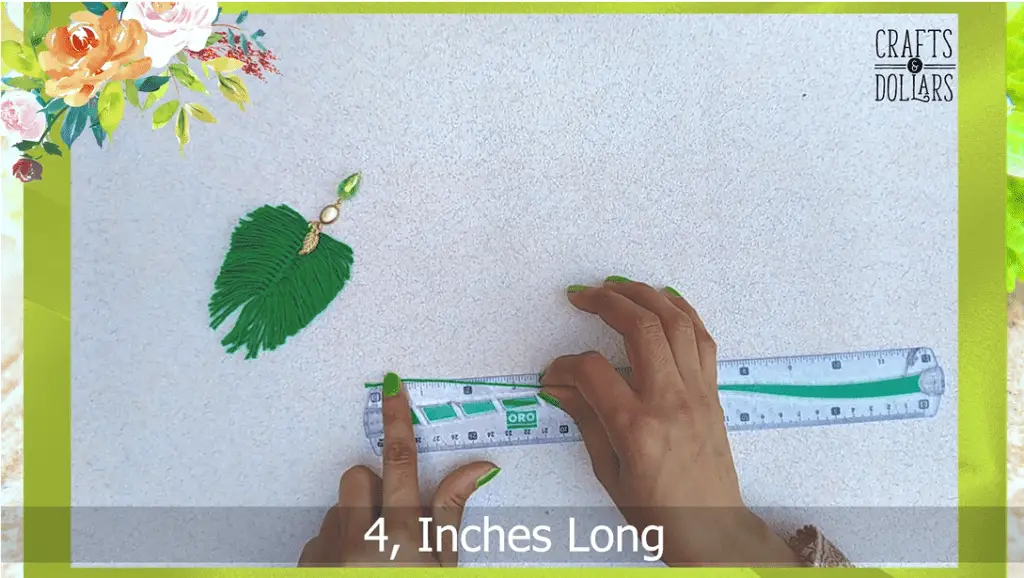
This will be the necklace’s feathered part, so how many flares you want is up to you.
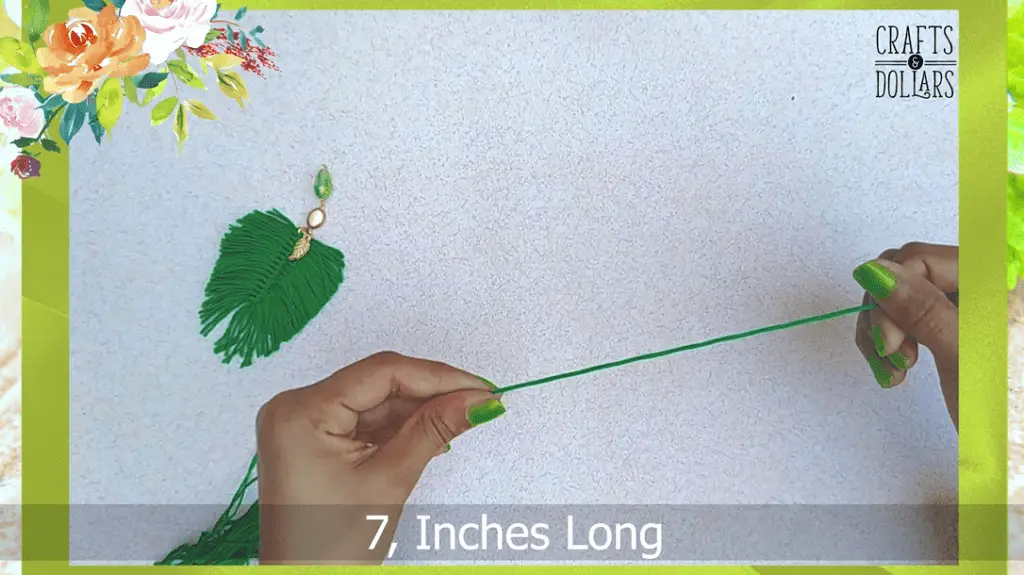
Next, cut up three 7-inch-long pieces of the thread.
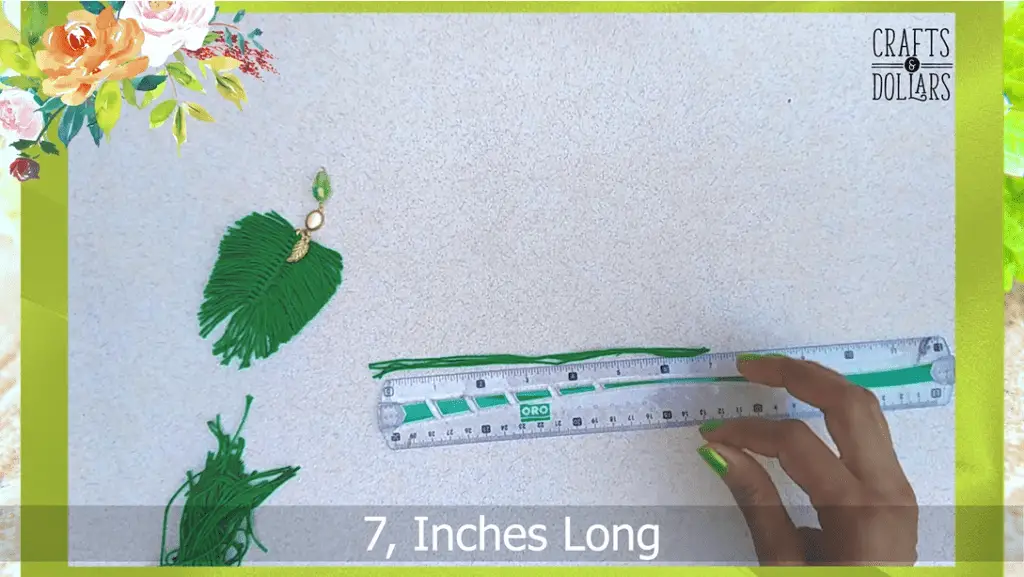
This will become the middle, braided part of the feather (see 1:02).
2. Assembling the Spine
After all the threads have been cut, we will begin assembling the spine of the macramé feather.
Take the three, 7-inch-long threads and twist them together so they stick together and become one (1:09).
Now, take a jump ring and pass the rolled-together threads through it.
Place the ring in the middle and then fold the thread in half to form the spine.
Once you are done with that, let’s move onto the part that people dread the most: the knots.
3. Tying the Knots
Tying the knots is dread by most people, but worry not! You’ll see how easy it actually is.
Take three 4-inch long threads, fold them in half, and place them under the spine so that the loop of the fold is peeking out from one end of the spine (1:36).
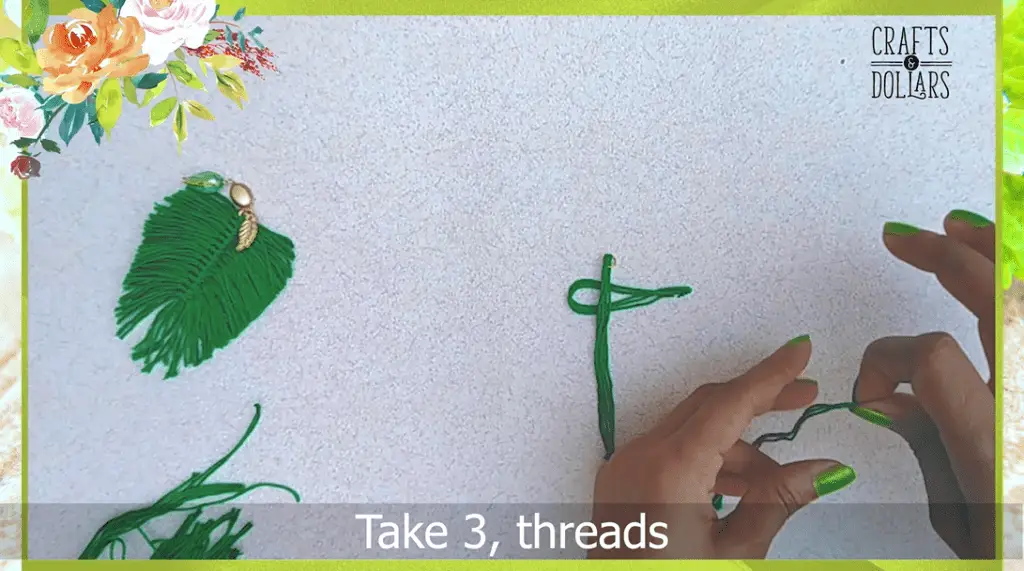
Then, take three more of the 4-inch threads, fold them in half, and put them through the loop of the first thread that we put under the spine.
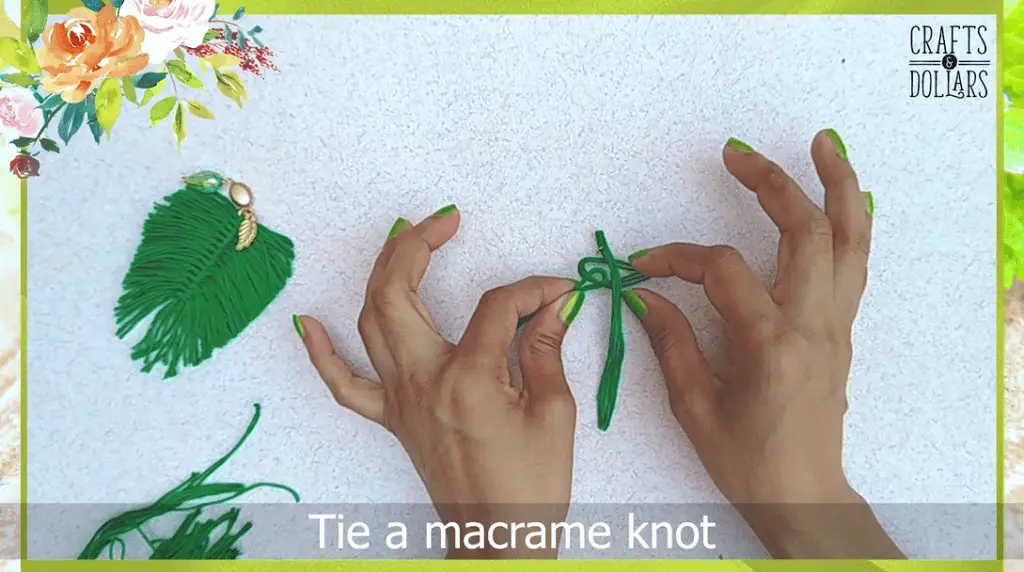
Pull it through so it lies horizontally, on top of the first strand.
Now, pull the ends of the bottom strand up through the loop of the second strand.
Be very careful not to pull the wrong strand!

Take both sides and pull to tighten the knot.
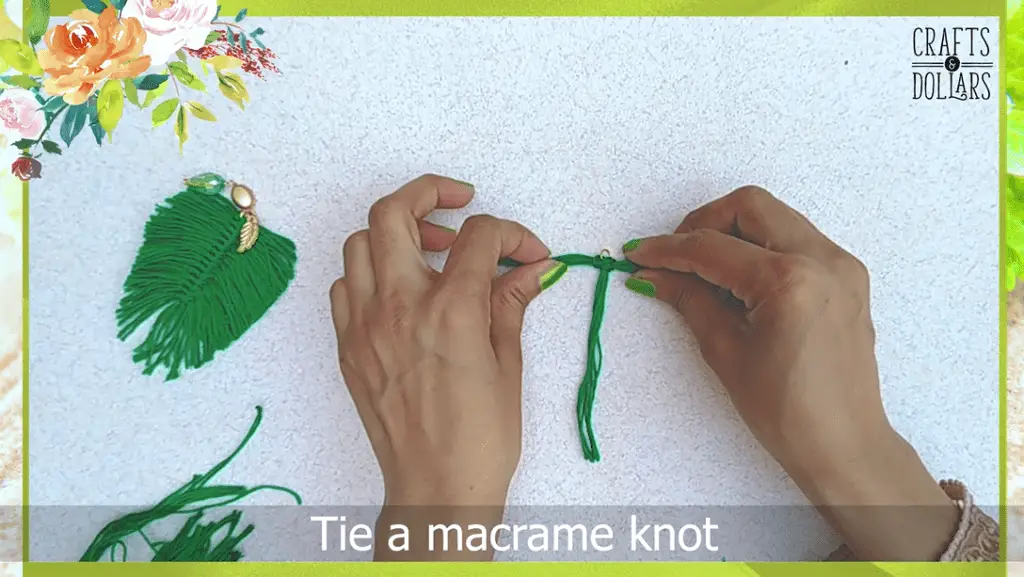
AND SEE? You are done with the first knot. Not so hard!
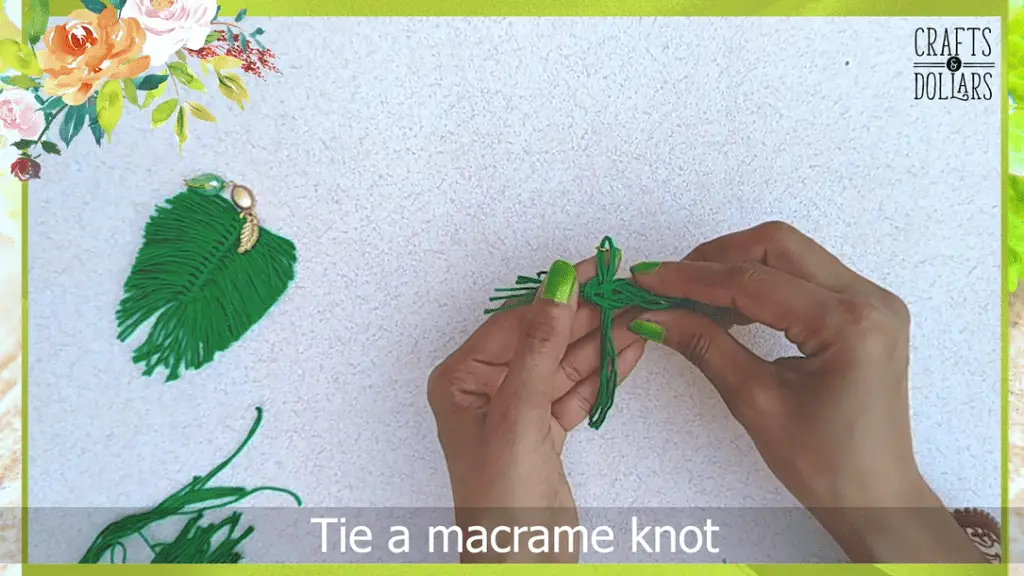
Repeat this step until you reach the end of the spine.
But keep in mind, you should alternate each knot from the one previous to it. So, if your first strand was laid from right to left, you’d lay the other one from left to right.
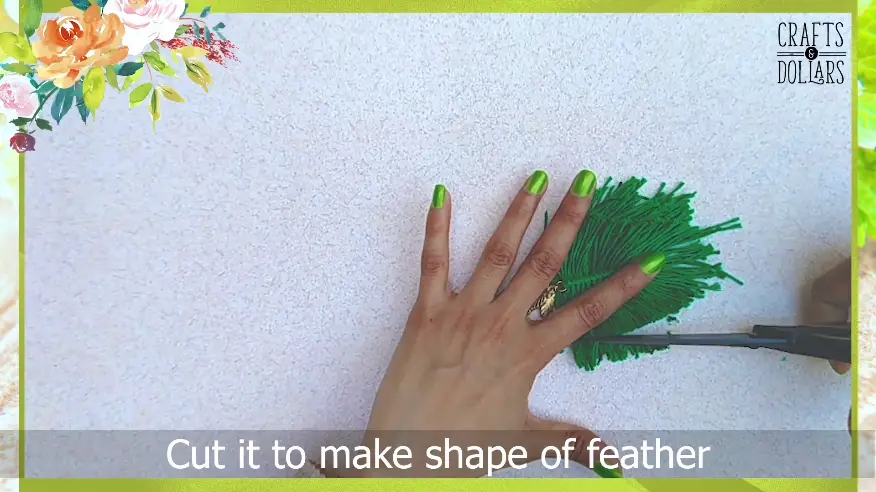
4. Cutting and Fraying of the Feather
It should take around fifteen knots to cover the spine. Once done with all the knots, take a breather. The hard part is over!
Take a comb and brush the threads (2:19) so they start to open up.

Then, trim the edges to form the shape of a feather.
5. Decorating the feather
If you want to source up the feather, you can use any beads of your liking.
I went with some gold flat oval beads, a green teardrop bead, and a golden leaf charm.
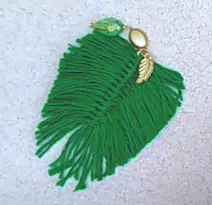
To attach them, first take an eye pin, open it up using jewelry pliers and attach it to the jump ring (watch the video at 2:34 for some visual guidance).
Put the gold oval bead through the eye pin, and again, use the pliers to turn the top of the pin to close it. Repeat the same process with another eye pin for the green glass bead. Simply take the gold leaf charm, and insert it through the jump ring.
All done! Your beautiful feather is right in front of you. You’ll need to make two of these feathers in this particular necklace to get the right look.
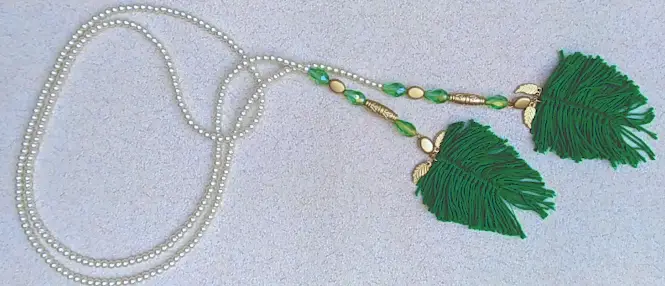
6. Attaching the feather to the necklace
You are done with the macramé necklace’s main part, so give yourself a pat on the back. You did great!
Now, we will move onto the rest of the necklace.
Take a clear fishing wire and start adding as many pearl beads as you wish. Just remember to leave some space on both ends to attach the feathers.
It also looks nice to add some of the other beads and to each side of the string. But again, do not completely cover the string.
You can use any combination of beads you’d like. I use a green Teardrop bead, then a golden oval bead followed by another green bead, and then a long golden bead (3:20 in the video).
Use the rest of the clear fishing wire to attach the feather on each side of the string, ensuring no space is left between anyone of the beads so that it’s taut. The necklace in front of you should look like this:
Making Matching Macramé Earrings
You can either stop here and have fun with the necklace, or you can continue to make a matching pair of earrings!
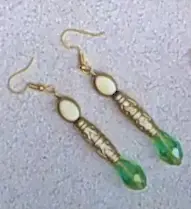
It’s really easy, just take a flat head pin and start inserting beads. Again, you can use any combination you want.
At 3:58 in the video, I use a green teardrop bead, followed by a long golden bead, then an oval bead. Use the pliers to turn the top of the pin to create a small loop. After that, use ear wires and attach them to the loop of the flat headpin with the help of the pliers. Look at 4:09 to understand the process a bit better.
Repeat the whole process on another flat head pin to create a matching earring.
You’re done! Your beautiful masterpiece is right before you; YOUR OWN CREATION.
It must feel amazing.
With the right amount of practice, you can start creating different types of these macramé necklaces and earrings, adding your own unique twists to them to make them your own.
Happy knotting!
Leave a Reply