We all know that feeling when we see the perfect item shopping online.
While scrolling through so many product listings on shopping websites, sometimes a particular listing captures our attention. Then we may ask ourselves, why am I so interested in this product?
Usually, it is due to gorgeous photos that serve to educate and inspire. This excitement can be especially potent on handmade shopping platforms like Etsy due to the variety of beautiful products showcased through quality photos.
Captivating photos are essential to a successful Etsy shop and result in numerous benefits for both the buyer and seller. Not only will the seller differentiate themselves from the competition and notice higher sales and reviews, but the buyers will understand the product better and be more inclined to hit the buy button or tell a friend.
This ultimate Etsy shop photo guide will help you figure out how to capture shoppers’ attention in easy-to-understand segments, including quick tips, technical requirements, and some common mistakes and questions.
The Basics
When beginning your Etsy journey, it is essential to remember these simple but often forgotten photography tips.
- Use a simple design – most likely, your buyers are on a mobile device and will see a smaller image on their phone
- Keep size in mind – some photos will end up blurry if compressed or stretched
- Analyze the color scheme – this gives off a “vibe” and style to your potential customers
Keep these basic principles in mind as we move forward and further outline what your product photos will evolve into.
Types of Etsy Product Photos
Using a wide variety of photos and styles conveys a lot of information about your product. You’ll want to explore which of these shots fits your brand and products the best.
- Studio Shot: A clear studio shot grabs customers’ attention. It gives a realistic impression of what the customer will get when they order products. It avoids the hassle of return and exchange.
- Lifestyle Shot: This inspirational photo illustrates the life of customers if they buy the product.
- Scale shot: The customers must know the exact size and how the product fits its desired location. For example, how the hairpin looks on a child’s head or an adult hairdo?
- Detail shot: The close-up photos show off the quality and the material used to make the product. Here Etsy Profile Picture Size comes in. The recommended size for profile photos is 500 x 500px. It will also affect the appearance of Etsy listing photos dimensions.
- Group shot: The group shot is good to sell multiple items or products in sets. Here, either keep that as your profile picture to create a brand or load numerous images with different angles. The Etsy Profile Picture Size must be 400 x 400 pixels in size and smaller than 10MB. Make sure your original image is square or will misrepresent your profile picture on the site.
- Packaging shot: The Etsy Logo size and tips come in handy here. You are showing the packaged product tells the customer what to expect in the mail. Hence, Make sure that your shop logo file is 500 x 500 pixels. To attain an adequate Etsy Logo Size, figure your target audience first. Determine your personality and put together best practices.
- Process shot: Finally, the process shot shows the customer all the hard work to make the product. It promotes business through other websites also. Keep in mind the Etsy Product Image Size. Usually, a photo is cropped under either on a computer, smartphone, or with the camera. The ratio needs to be set when the process is done.
- Holiday Shot: If you can create holiday versions of your products, prepping for holidays now can make it easier to be ready before the busy holiday season begins.
Etsy Photo Requirements
Now that you have an idea of what you want your shop’s photos to look like in mind, memorize Etsy’s technical requirements. Without these, you will not be able to add those gorgeous photos to your site successfully.
Etsy Photo Sizes
There are several different areas where you’ll use photos in your Etsy account. A few of these areas include product listings, the shop icon, and the shop banner. Since these areas are used for different purposes, you’ll need different size photos for each area. For example, your shop icon will require a small, square photo, while your shop banner will be large and rectangular.
Listed below are the recommended Etsy photo sizes:
- Etsy listing photo size: 2,000 x 2,000px
- Etsy shop icon size: 500 x 500px
- Etsy banner size: 1600 x 400px
- Etsy Cover Photo Size*: 3360 x 840px
*The Cover Photo is the most significant branding asset available and is featured prominently on your Etsy shop. While the minimum Etsy cover photo size allowed is 1200 x 300 pixels, the cover photo should ideally be 3360 x 840 pixels to ensure that it is as straightforward as possible and can have maximum impact on the brand.
How many photos can you upload on Etsy?
You are only allowed to upload a certain number of images to your Etsy listings. This prevents sellers from adding unnecessary photos. You can upload a maximum of 10 images on an Etsy listing. In most cases, ten images are enough for the seller to show all aspects of the item to the buyer.
Choose the right file format
Not all file formats are treated equally (.png, .jpg. .gif.). Essentially, .png will provide the highest quality photos but will cause your photo files to be much larger, so anticipate longer upload times.
What Software should I use to edit Etsy photos?
There are many different options when it comes to photo editors. Depending on what you’re looking to achieve, one platform may be a better choice compared to another.
- Canva is one of the easiest free tools to use today for editing photos. They have also published an Etsy sizing guide. Canva is best for adding text or designs to photos or resizing.
- Adobe Photoshop is a classic photo editor that everyone knows about. However, it does come with a learning curve and is best for detailed image adjusting.
- If you need to add a filter to your photos, you can do this right from the photo in your camera roll if you have an iPhone. Or choose an application like Adobe Lightroom.
How to Take the Best Photos
The Profile Photo
This is a must for your Etsy Shop and arguably one of the most important photos.
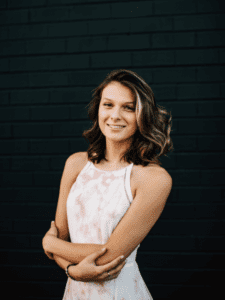
If this photo is of you (the seller), make sure the picture gives off the right “vibe” to represent your brand. Are you able to put on a big smile, but not too cheesy? Are you able to have a fun expression for a fun crafts brand? You will be surprised at how much this makes a difference.


Your profile photo brings in a personal element to interacting with your customers. Customers purchase mostly on trust. They want to transact with someone who they deem as honest. If they are able to see a pleasant photo of you, this can potentially clear up any last-second doubts the buyer may have. Personally, I like transacting with sellers who have their verified photos present.
General Photography Tips
What makes a great photo will depend on what niche you’re in, but there are a few universal elements.
- Bright, beautiful lighting: This can be accomplished with outdoor photography or by purchasing some simple lighting setups on Amazon. One great and easy-to-use form of lighting is the ring light.
- Props: Adding in additional props to your first photo (like flowers, confetti, other similar items, etc.), or putting the item into a “lifestyle” setting, meaning photographing it while in use, is a sure-fire way of standing out in a sea of competitors who are simply taking a photo of the item itself. Buyers are looking for demonstrations of how the item will look once put to use in real life!
- Models: Getting a human/pet or any living and breathing thing into your first photo will help you garner those clicks faster than maybe anything else! If your item is a bracelet, get a photo of it on a wrist. If it’s a personalized engraved hammer, get a photo of it in hand. Is it a bone? Get it in a dog’s mouth! Models help increase conversions. Period. Get some people and pets involved in any way you can!
- Step Back: Try to capture images of your item further back than you think you’ll need. This will give you the ability to crop in without losing parts of your item.
5 common photography mistakes to avoid:
- Using the flash for indoor shots. This is a big no-no as it will alter the true colors of your items. It also produces inferior-looking pictures. If possible, only use natural light. You might need to position yourself by a window with adequate sunlight or take your photos outdoors.
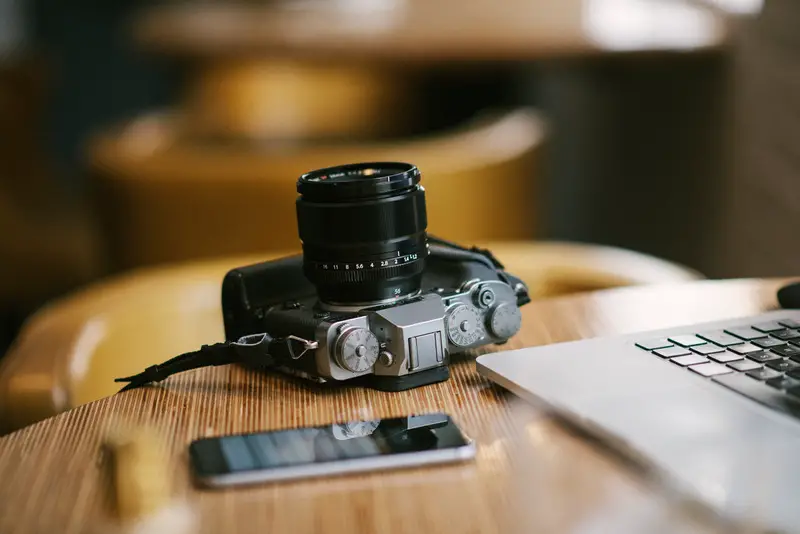
- Don’t waste time fooling around with a thousand and one settings on your Canon EOS or Nikon Coolpix. Save time by keeping it simple and using an iPhone (see more below).
- Do not think an expensive camera will produce a better photograph – Surprisingly, the newer generation iPhone models have fantastic cameras with robust auto-adjustment software
- Avoid clutter to keep the potential buyer focused on the item. It also helps to eliminate background “noise.” A simple white or grey background is perfect.
- Ensure there is enough contrast between your product and background. If you have a white item, do not take pictures on a white tablecloth. Sometimes white items look best on wood backgrounds. Brown items will not work with a black background; opt for a light blue or off-white.
Summary
Remember, your listings thumbnail photo may be the only opportunity you get to create a connection with a potential buyer, so make it count! Implement the photography tips and tricks listed above for a beautiful result. Then, ensure your great photos can be properly uploaded and viewed by using a photo editor and following the technical info.
Although you likely will be one step closer to taking brilliant product photos after reading this article, be sure also to research your specific camera. Your camera could have unique features that could further enhance your photos. Please note that you do not need an expensive, professional camera to create stunning photos. Many sellers use their phones since technology has advanced enough to make this possible. If you’re not sure how to create the best images possible using your phone, use YouTube as a reference and spend a little time watching cell phone camera tutorials. There are many simple tips and tricks that can turn you into a camera phone pro in no time!
Once your photo is uploaded, be sure to pay attention to the details. Be sure to fit it correctly into the thumbnail using the listing editing feature to resize your first photo inside that thumbnail. This way, you can ensure your image isn’t cut off on the edges. Lastly, have fun with photography. Also, remember to always shoot for consistency in your photos within your brand as a whole. Give your buyers something to remember you by. Now go forth and shoot!


Leave a Reply